How to Sew Bunting: Step-by-Step Tutorial for Beginners
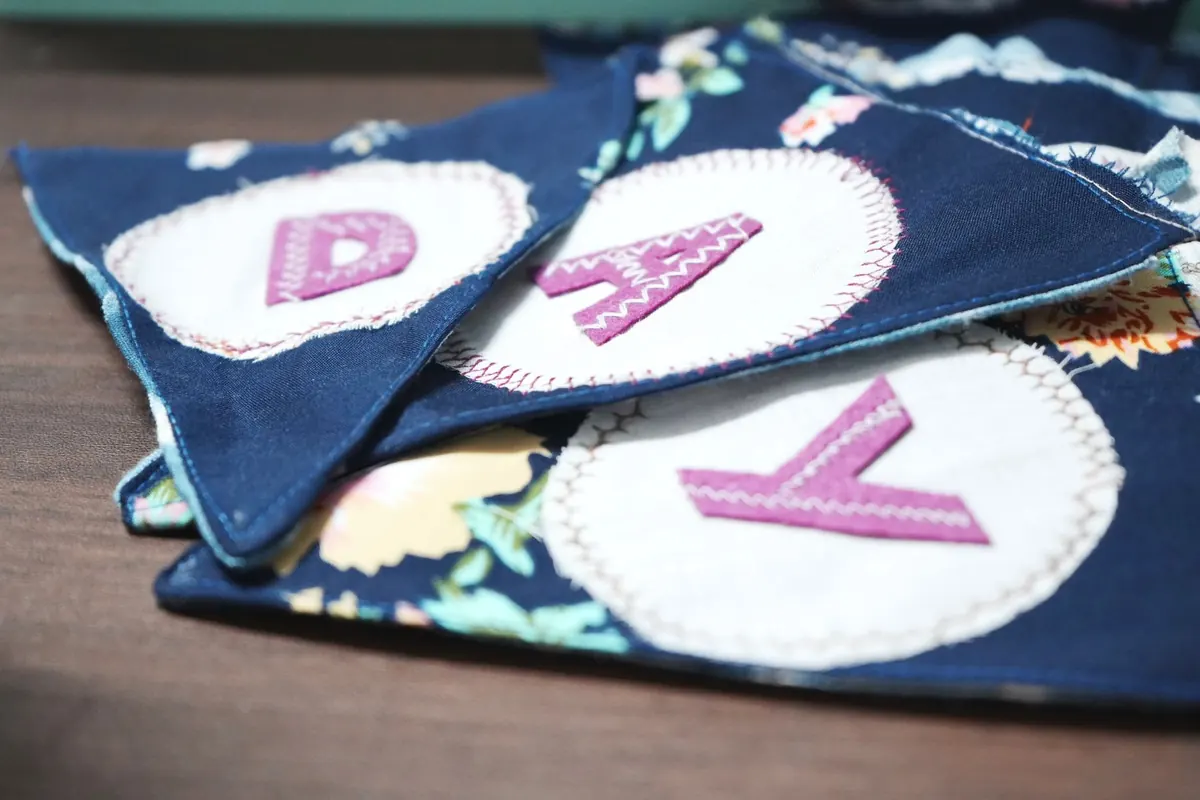
Bunting is one of the most forgiving things you can sew. Straight lines, no fitting, no zips — and if one flag sits slightly off-square, it hangs among a dozen others and nobody notices. That forgiving nature makes it an ideal first project, and it is also the reason experienced sewists keep coming back to it: an afternoon of work produces something genuinely useful and generous.
This walkthrough takes you from a flat piece of fabric to a finished string you can hang the same day.
What You Need Before You Cut
Gather everything first. Nothing here is specialist, and you likely own most of it already.
- Fabric — quilting cotton is the easiest starting point. Cotton lawn, light canvas and linen blends also work well. Avoid slippery satins and stiff upholstery fabric, which fight you at every stage. Half a yard makes roughly six to eight flags depending on size, so mix and match leftovers.
- Double-fold bias binding — about 1/2 inch wide when folded. For ten flags with gaps and generous ties, allow around 3 yards.
- Thread — all-purpose polyester, matched to your binding or deliberately contrasting.
- Template material — a cereal box or a sheet of firm card.
- Cutting tools — a rotary cutter, mat and ruler, or sharp fabric scissors. Pinking shears are useful if you plan to skip the sewing of individual flags.
- Basic kit — pins or clips, an iron, a sewing machine with a universal 80/12 needle, and a chopstick or blunt knitting needle for turning points.
Pre-wash and press your fabric before you cut. Cotton shrinks, and pressing now saves you wrestling with creases later.
Cutting the Flags
Start with a template. A classic triangle is 7 inches across the top and 9 inches tall, which gives a flag that reads clearly from across a room. Draw it on card, cut it out, and check it against your fabric — you want a size that lets you fit at least two flags across the width of a fat quarter.
Fold your fabric selvedge to selvedge with right sides together, smooth it flat, and pin the template down. Cut around it with a rotary cutter and ruler for the cleanest edges. Because the fabric is doubled, every cut gives you two matching pieces — which is exactly what you need, since each flag is two layers sewn together.
A note on shapes and shortcuts
Triangles are traditional, but flag-bottomed pennants and gently curved scallops are just as easy. Curves need a little clipping before turning, so leave those for your second batch. If you want bunting in a hurry, cut single-layer flags with pinking shears and skip the sewing entirely — you get a rustic, slightly frayed look that suits garden parties. The trade-off is that zigzag edges shed threads over time and the bunting will not survive a wash.
Sewing the Flags
Take two flag pieces and place them right sides together. Pin along one long side, the point, and up the other long side, leaving the top edge open. A pin at each corner and one at the point is usually enough.
Set your machine to a straight stitch around 2.5mm and use a 1/4 inch seam allowance. Begin at one top corner with a couple of backstitches, sew down to the point, pivot with the needle down, and sew back up to the other top corner. Backstitch again. Do not sew across the top.
If you are making a long string, work in batches. Sew every flag without stopping to trim or press — this is called chain piecing, and it turns twenty fiddly jobs into one rhythm. Clip the threads between flags afterwards.
Turning and pressing
Trim the seam allowance at the point to about 1/8 inch, cutting close but never through your stitches. This is the single biggest difference between a sharp point and a lumpy one. Turn each flag right side out, then push the point out gently with a chopstick. Push from the inside, not by jabbing at the tip, which can distort the fabric.
Press each flag flat, pressing the seams outward and working the point into a crisp triangle. Pressing takes two minutes and makes the whole string look deliberate.
Attaching the Binding
Lay the binding out on the floor or a long table — this is much easier than working at the machine. Open the tape slightly and slide the top edge of each flag into the fold, so the tape sandwiches the fabric. Space the flags 2 to 3 inches apart for a traditional look, or butt them closer together for a dense, full string.
Leave 18 to 24 inches of empty binding at each end for tying. Those tails are what let you hang bunting from a hook, a branch or a tent pole without extra string.
Pin along the whole length, then stitch close to the lower edge of the tape, about 1/8 inch in, backstitching at both ends. The needle should catch the back layer of binding as it goes. Flip the string over and check a section — if the back layer was missed anywhere, run a second line of stitching along the top edge of the tape. It looks neat and doubles the strength.
When Something Goes Wrong
- Lumpy points. The seam allowance is too wide at the tip. Trim it closer and press again.
- Puckered seams. Change your needle, loosen the top tension slightly, and stop pulling the fabric through the machine. Let the feed dogs do the work.
- Flags slipping out of the tape. Pin more densely and sew a touch slower. A second stitching line along the top edge fixes it permanently.
- Fraying raw edges. Use pinking shears or a dab of fray-stopping liquid on single-layer flags.
Hanging It Up
Indoors, bunting lasts for years — wash it on a gentle cycle in a pillowcase and air-dry it flat. Outdoors, direct sun will fade even good cotton within a season, so bring it in after the party. Tie the tails loosely rather than knotting them tightly, and the string will be ready to hang again next time.
Make your first string short. Ten flags is enough to learn the whole process, spot where you want more spacing, and finish before your patience runs out. Once that first string is up, cutting the next batch takes half the time.
Photo: Ravi Kant / Pexels